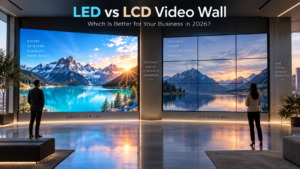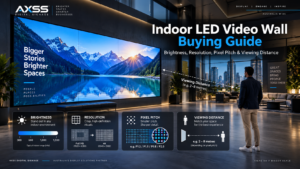
Installing a commercial video wall is rarely as simple as choosing a screen, fixing it to a wall and switching it on.
For businesses planning a video wall installation in Melbourne, the quality of the finished result depends heavily on the work that happens before the first LED cabinet or display panel reaches the site. Structural conditions need to be understood. Power and data routes have to be planned. Viewing distance, ambient light and screen brightness need to be considered together. The mounting system has to be accurate enough to keep the display perfectly aligned, and the control system must be configured so the screen remains practical to operate long after the installation team has left.
In a retail store, office reception, showroom, hospitality venue or public-facing commercial space, these details directly affect how professional the finished installation looks and how reliable it will be in everyday use.
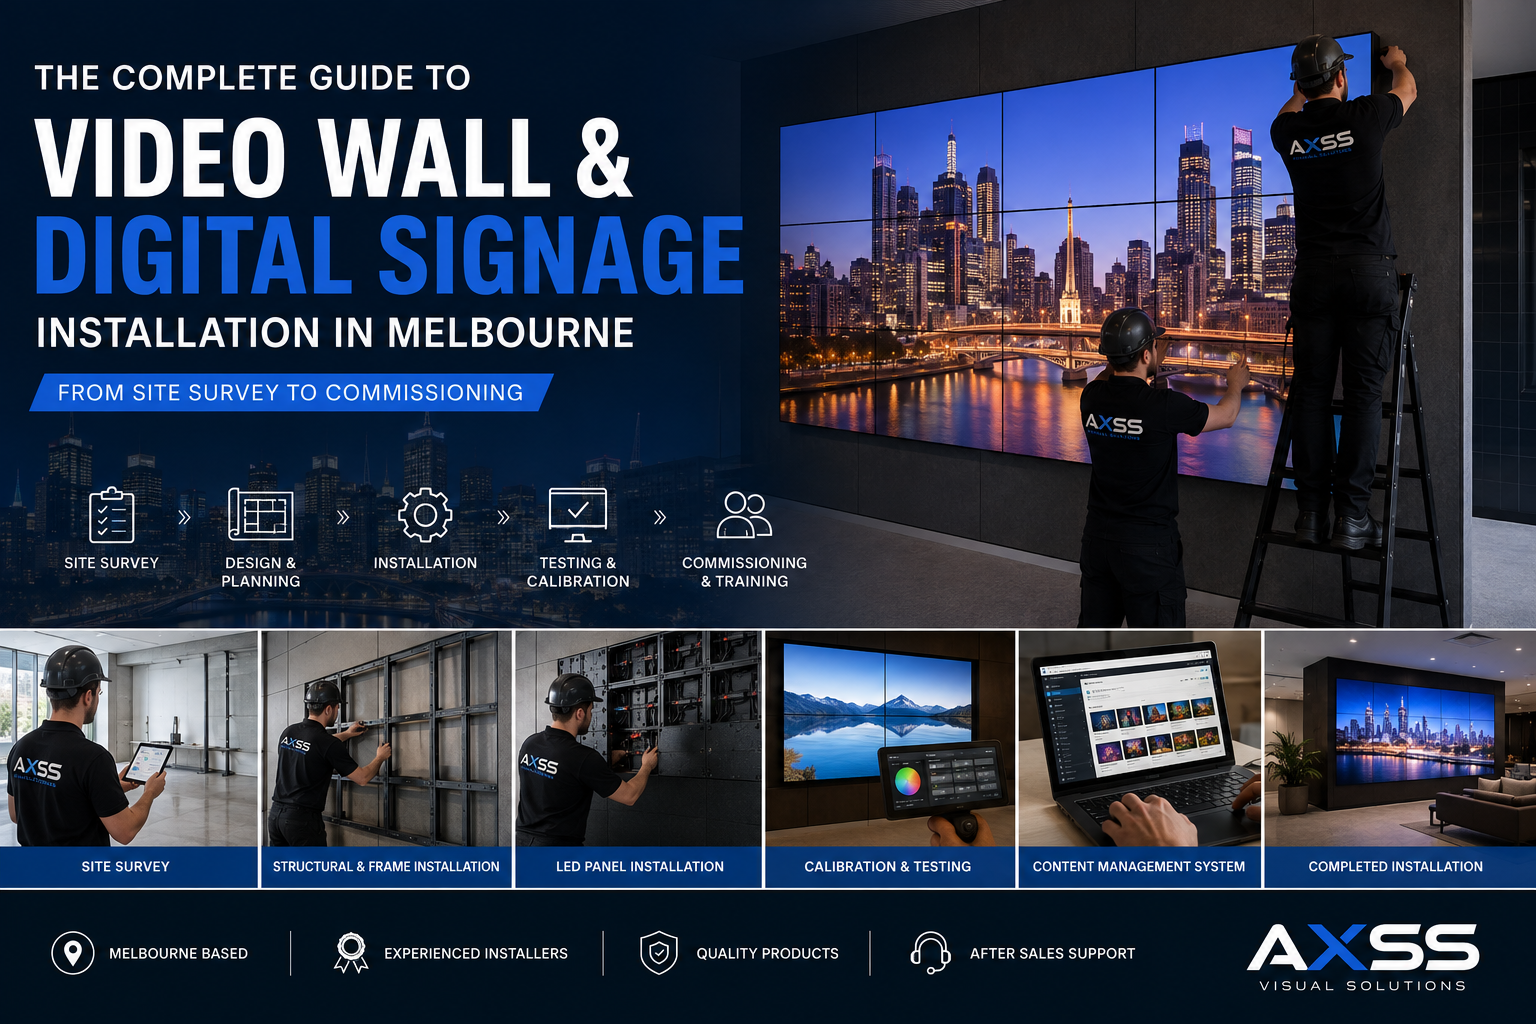
A properly managed project usually follows a clear sequence: site inspection, technical planning, infrastructure preparation, equipment selection, physical installation, system commissioning and final handover.
This guide explains what each stage involves and what Melbourne businesses should consider before committing to an LED video wall or digital signage project.
When Does a Video Wall Need Professional Installation?
Small standalone commercial displays can sometimes be installed with relatively little preparation. A large LED wall or multi-screen digital signage system is different.
Once the display becomes a permanent part of a commercial environment, installation decisions can affect the building, electrical system, network infrastructure and day-to-day operation of the business.
Professional installation becomes particularly important when the project involves:
- large-format LED walls;
- multiple LCD panels operating as one display;
- custom mounting frames;
- integration into cabinetry or architectural finishes;
- displays installed above normal working height;
- outdoor or semi-outdoor screens;
- shopfront digital signage;
- dedicated electrical circuits;
- long data runs;
- network-based content management;
- or screens expected to operate for long commercial hours.
The purpose of professional installation is not simply to make the screen work on opening day. The aim is to build a system that remains aligned, serviceable, safe and manageable over its working life.
Retail, Corporate and Public-Space Installations Are Not the Same
The installation method should reflect where the display will actually be used.
A video wall in a corporate boardroom has very different priorities from an LED display facing the street through a retail window.
Retail Digital Signage Installation
A retail digital signage installation in Melbourne usually has to deliver strong visual impact without interfering with customers, merchandise or store operations.
The installation team may need to consider:
- shopfront glass and reflections;
- changing daylight conditions;
- customer viewing distance;
- product displays positioned near the screen;
- ceiling height;
- access to electrical distribution;
- opening hours;
- public safety;
- and future access for servicing.
A display that appears bright enough during an evening inspection may look washed out in a west-facing window on a sunny afternoon.
This is why retail installations should ideally be assessed under realistic lighting conditions rather than specified from drawings alone.
Where a store is already trading, another challenge is disruption. In many cases, preparation can be completed before the installation date and the more disruptive work scheduled outside business hours.
Good planning often makes the difference between a smooth overnight installation and several days of unnecessary disruption.
Corporate Video Walls
Corporate installations usually place greater emphasis on image quality, architecture and clean integration.
A reception wall, presentation area or executive meeting room may require cables and mounting components to be completely concealed.
The screen may also need to connect with several content sources, such as presentation computers, meeting-room systems, streaming devices or corporate digital signage software.
In these environments, brightness is important, but extreme brightness is rarely the goal. Comfort, image quality and consistency usually matter more.
Showrooms and Public-Facing Spaces
Car dealerships, exhibition spaces, venues and large commercial interiors often sit somewhere between retail and corporate requirements.
The screen needs enough impact to attract attention from a distance, but it also needs to look good when a customer walks closer.
This is where decisions such as LED pixel pitch become especially important.
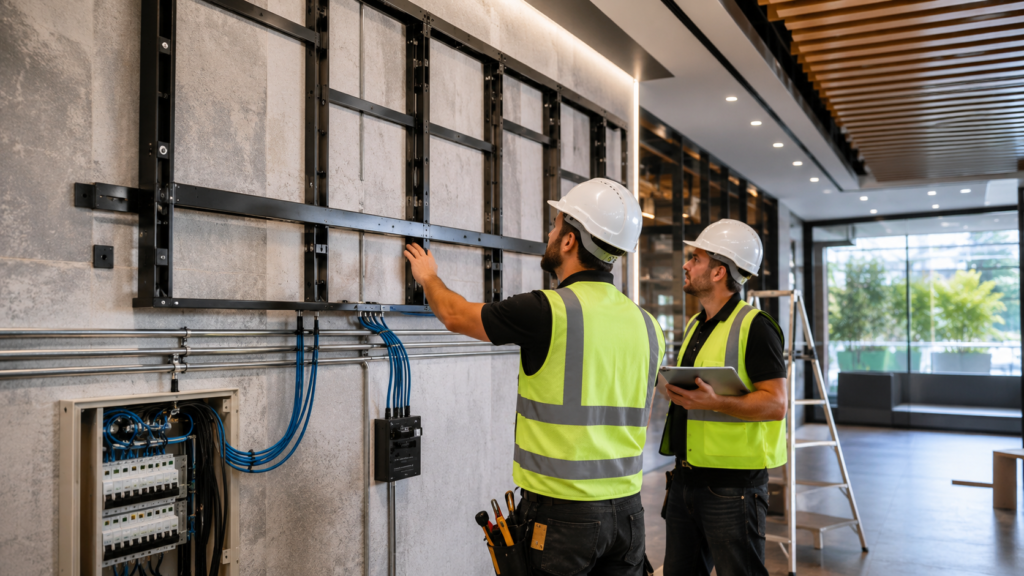
Step 1: Site Survey and Initial Assessment
A professional LED screen installation in Melbourne should normally begin with a physical inspection of the site.
Architectural drawings are useful, but they do not always reveal the conditions that matter to an installer.
A site survey allows the team to see the space as the audience will see it and identify issues that may affect the project before equipment is ordered.
Checking the Wall and Supporting Structure
The first question is straightforward: what will actually support the display?
Video walls can create substantial loads, particularly when the project involves a large number of LED cabinets, a steel mounting frame or an installation positioned away from the original wall surface.
The installer needs to understand the wall construction and identify suitable mounting points.
Depending on the site, the display may be mounted to:
- masonry;
- concrete;
- structural steel;
- reinforced framing;
- a purpose-built support frame;
- or an independent floor-supported structure.
A plasterboard surface by itself should never be assumed to provide adequate structural support for a large installation.
Where the display is particularly large or the supporting structure is unusual, structural engineering input may be required.
The goal at this stage is to remove uncertainty before installation work begins.
Maintenance Access
Maintenance access is often overlooked when a video wall is designed.
A screen can look excellent on the architectural drawing but become extremely difficult to repair if there is no practical way to reach the components behind it.
Some LED cabinets are designed for front servicing. Individual modules, receiving cards and power components can be removed from the front of the display.
Other systems require rear access.
If a rear-service display is mounted directly against a solid wall without sufficient clearance, even a simple repair may become unnecessarily complicated.
The service strategy should therefore be decided during technical planning, not after the wall has been installed.
Measuring Viewing Distance
One of the most useful measurements taken during the survey is the distance between the screen and its audience.
For an LED wall, this influences the choice of pixel pitch.
Pixel pitch is the distance between individual LED pixels, normally expressed in millimetres.
A smaller pixel pitch places pixels closer together and allows the screen to display a smoother, more detailed image when viewed from short distances.
A larger pitch can work very well when the audience is farther away.
This means the most expensive or finest-pitch screen is not automatically the best choice.
If a screen will normally be viewed from eight or ten metres away, specifying an extremely fine indoor pitch may add considerable cost without producing a meaningful benefit for most viewers.
The reverse is also true. A screen with a pitch that is too large for a close-viewing application may show visible pixel structure and reduce perceived image quality.
The correct decision comes from the actual viewing environment.
Evaluating Ambient Light
Brightness specifications should also be based on the site.
An indoor LED wall located in a dimly lit presentation room has completely different requirements from a display installed behind a retail shopfront.
During the site survey, it is useful to consider:
- direct sunlight;
- reflected sunlight;
- artificial lighting;
- glossy surrounding finishes;
- nearby windows;
- time-of-day changes;
- and the direction from which viewers approach the display.
The objective is not simply to choose the brightest screen available.
Excessive brightness indoors can make a screen uncomfortable to look at and may create unnecessary power consumption.
A well-designed system uses enough brightness to remain clear in the real environment while still providing a comfortable viewing experience.
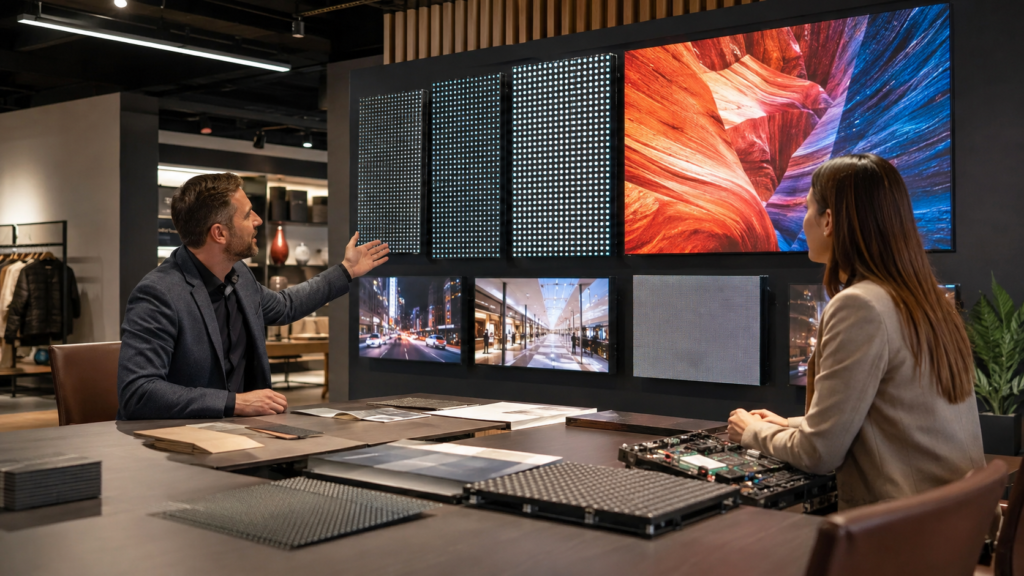
Step 2: Structural, Electrical and Data Planning
Once the physical site has been understood, the next stage is infrastructure.
This is where many seemingly simple projects become more technical.
Designing the Mounting Structure
Large LED video walls rely on accuracy.
If the mounting structure is uneven by only a small amount, the issue can become visible once multiple cabinets are fitted together.
The frame therefore needs to be designed and installed with careful control of:
- level;
- vertical alignment;
- horizontal alignment;
- mounting depth;
- and overall flatness.
Depending on the project, the solution might involve a manufacturer-supplied mounting system, custom steelwork, wall brackets or a floor-supported structure.
The correct choice depends on screen dimensions, wall construction, access requirements and the final architectural appearance.
Electrical Requirements
A large LED display can represent a meaningful electrical load.
The electrical plan should consider the maximum expected load of the system rather than relying only on average power consumption during typical content.
This may involve:
- dedicated power circuits;
- isolation points;
- power distribution;
- earthing;
- circuit protection;
- and accessible service points.
Electrical work should be planned early enough that cabling can be concealed properly.
Running new circuits after the wall has been finished is usually more disruptive and more expensive.
For commercial installations in Victoria, electrical work should be carried out in accordance with applicable Victorian electrical safety requirements and relevant Australian/New Zealand standards.
From the client’s perspective, the important point is simple: power infrastructure is part of the video wall project, not a separate issue to solve at the last minute.
Data Cabling and Signal Distribution
The display also needs a reliable path from the content source to the screen.
For a small installation, this may be a straightforward HDMI connection.
Larger systems can involve:
- HDMI;
- DisplayPort;
- HDBaseT;
- Cat6 networking;
- fibre;
- video processors;
- LED controllers;
- media players;
- or IP-based content distribution.
Cable distance matters.
A connection that works well across a short equipment rack may not be suitable for a long run across a building.
Signal type, resolution and bandwidth all need to be considered.
For network-connected signage, the IT team may also need to be involved.
This can include questions around internet access, firewall rules, device permissions, VLANs and remote management.
Resolving these details before installation day reduces the chance of having a physically complete screen that cannot connect to its content platform.
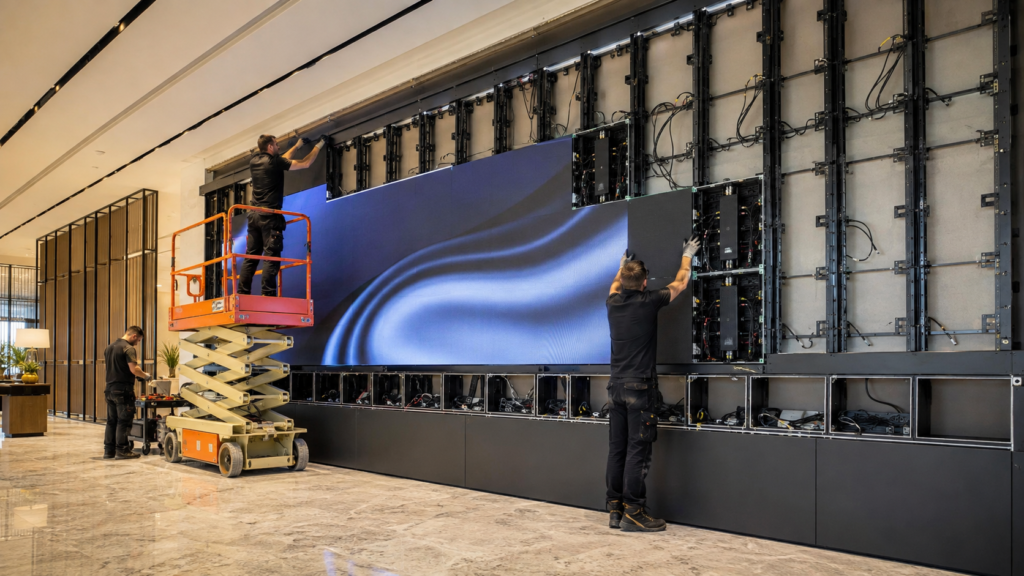
Step 3: Choosing the Right Display Technology
With the site conditions understood, the team can make a more informed equipment decision.
Direct-View LED Video Walls
Direct-view LED has become a popular choice for commercial video walls because it can create large, continuous display surfaces without the visible bezel lines associated with conventional panel-based video walls.
It is also highly flexible in terms of dimensions.
Rather than working around the fixed size of a television or LCD panel, an LED wall can be configured using modular cabinets.
This makes it suitable for:
- retail feature walls;
- reception areas;
- showrooms;
- stages;
- events;
- command environments;
- and large brand installations.
For indoor applications where people may stand close to the display, fine-pitch LED may be appropriate.
For larger spaces with longer viewing distances, a wider pixel pitch may provide a better balance between image quality and project cost.
LCD Video Walls
LCD video walls can still be a practical option in certain environments.
They use multiple commercial panels positioned together to form one larger image.
The main visual difference is the bezel between panels.
For some control-room, corporate or budget-sensitive installations, this may be acceptable.
For premium public-facing installations where the client wants one continuous image surface, direct-view LED is often preferred.
Outdoor LED Screens
Outdoor LED projects need a different level of planning.
The screen may need to operate under intense daylight, rain, wind, temperature changes and other environmental conditions.
Brightness requirements are generally far higher than for indoor installations.
The enclosure and supporting structure also need to be appropriate for the location.
An outdoor LED screen installation in Melbourne should therefore consider weather exposure, structural design, service access and power requirements from the earliest design stage.
Transparent LED Screens
Transparent LED technology can be useful where a conventional solid display would block a window or architectural feature.
It is frequently considered for retail windows, car showrooms and glass-fronted commercial spaces.
The advantage is that digital content can be shown across the glass while maintaining a degree of visibility through the display.
However, transparent LED should still be selected according to the real viewing environment.
Brightness, transparency, pixel pitch and installation distance from the glass all affect the final result.
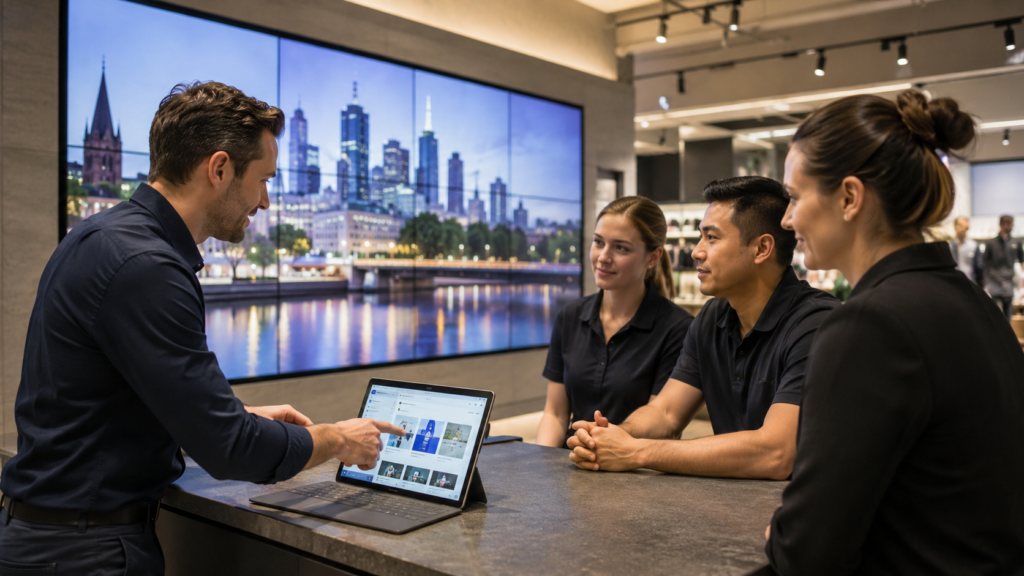
Step 4: Content Control and CMS Planning
A digital signage project is not finished when the display is installed.
Someone needs to control what appears on it.
This is where the content management system becomes part of the design.
A suitable CMS may allow the business to:
- upload images and video;
- schedule campaigns;
- create playlists;
- manage content remotely;
- assign content to specific screens;
- operate several locations from one dashboard;
- and control user permissions.
For a single display in one Melbourne location, the content workflow may be relatively simple.
For a retailer with several stores, a centralised CMS can become essential.
Head office may want control over national campaigns while allowing local managers to update certain content.
Those permissions should be considered during the system design rather than added later.
Step 5: Scheduling the Installation
Commercial environments are rarely empty construction sites.
The installation may need to happen while other contractors are working, or while the business continues operating.
A good project schedule identifies dependencies in advance.
For example, the display installation may depend on:
- reinforcement inside a wall;
- completion of steelwork;
- electrical circuits;
- network cabling;
- cabinetry;
- ceiling works;
- painting;
- or access equipment.
If the sequence is wrong, finished work may have to be removed and completed again.
Installing in an Operating Retail Store
One of the most common concerns with retail digital signage installation in Melbourne is whether the store has to close.
Not necessarily.
Smaller installations can often be completed outside opening hours.
For larger projects, work may be staged.
Frames can be prepared in advance. LED cabinets can be tested and configured before arrival. Content players and controllers can also be pre-configured.
This reduces the amount of work that needs to happen inside the active retail environment.
The exact approach depends on the size of the screen and the amount of electrical or structural work involved.
Step 6: Physical Installation
Once the infrastructure is ready, the mounting system is installed.
This stage is where earlier measurements and planning become visible in the finished result.
Frame Installation and Levelling
The mounting frame must be installed accurately.
Technicians check alignment repeatedly because a small error at one end of a large video wall can become significant across the full width of the display.
The frame is normally checked before the first cabinet is installed and again as the display is assembled.
Installing LED Cabinets or Panels
The screen components are then fitted to the frame.
For LED systems, cabinets need to sit precisely against neighbouring cabinets.
The technician checks that modules are correctly seated and that there are no visible steps or gaps between sections of the display.
Power and data connections are made progressively.
Testing during installation is generally preferable to waiting until the entire screen has been assembled.
If a cable or component is faulty, it is much easier to identify the affected area before the display is completely closed.
Cable Management
Professional cable management is not only about appearance.
It makes future service work faster and reduces the chance of accidental disconnection.
Power, data and control cables should be routed logically and, where practical, labelled.
A technician returning to the site months later should be able to understand the system without dismantling half of the wall to trace a cable.
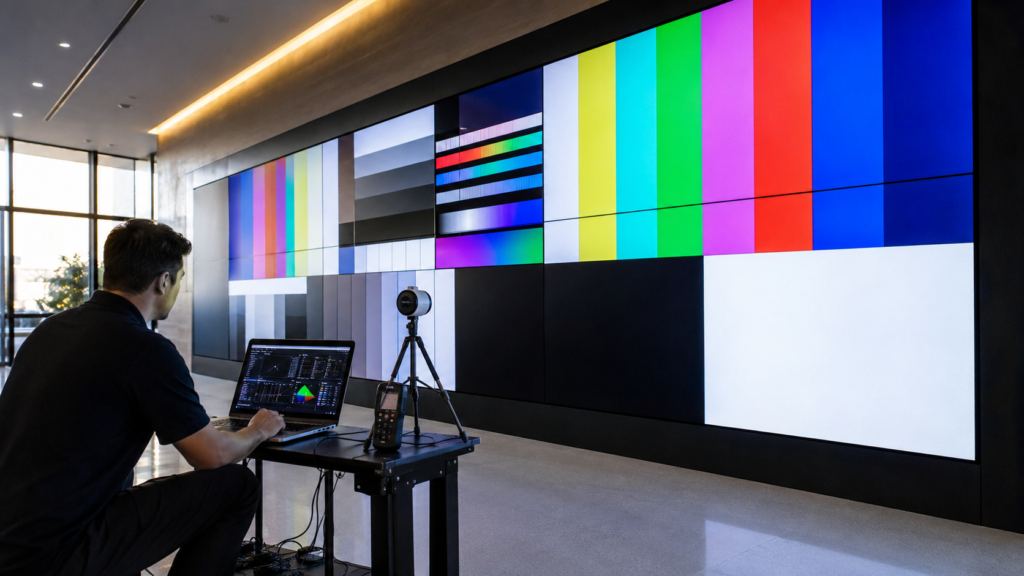
Step 7: Commissioning and Calibration
A video wall should never be handed over immediately after the last panel is installed.
Commissioning is the stage where the individual components become one functioning system.
Display Mapping
LED controllers need to understand exactly how the physical cabinets are arranged.
The system is mapped so that each section of the incoming image appears in the correct location.
Incorrect mapping can create reversed sections, duplicated content or image areas that appear in the wrong part of the display.
Colour and Brightness Calibration
Even when modules come from the same product series, a large screen should be checked for consistency.
The installer may adjust brightness, colour temperature and other settings so the display looks like one continuous surface.
Uniformity is particularly important when the screen shows large areas of a single colour, such as a corporate brand background.
Small differences that are difficult to notice in complex video content can become obvious on a white, grey or solid-colour test image.
Full-Screen Testing
Commissioning should include test patterns and full-screen colours.
These tests can help identify:
- dead pixels;
- faulty LED modules;
- incorrect colour reproduction;
- inconsistent brightness;
- mapping errors;
- poor connections;
- and physical alignment problems.
CMS and Network Testing
The installation team should also test the full content path.
It is not enough to verify that a laptop connected locally can show an image.
If the project is designed around a cloud CMS, remote content publishing should be tested.
Scheduled content should run correctly. Media players should reconnect after restart. Network connectivity should remain stable.
This is especially important for signage in locations where staff will not have technical expertise.
Burn-In Testing
For larger installations, it can be useful to operate the screen continuously for a period before final handover.
This gives the team an opportunity to identify intermittent faults that may not appear during a short functional test.
The exact testing period depends on the project and equipment.
Step 8: Handover and Staff Training
A good installation ends with the client understanding the system.
The team responsible for the display should know how to perform everyday tasks without needing to contact technical support each time content changes.
Training may cover:
- turning the system on and off correctly;
- uploading new content;
- creating playlists;
- scheduling media;
- managing users;
- changing sources;
- and recognising common warning signs.
Documentation can also be valuable, particularly where responsibility for the signage may move between staff members.
Maintenance and Ongoing Support
Commercial displays are built for extended operation, but they are not maintenance-free.
A maintenance plan may include periodic inspection, software checks, cleaning and replacement of failed components.
For LED systems, keeping spare modules from the same production batch can also be useful.
Over time, different batches of LEDs can have subtle visual differences.
Having compatible spare components available can make future repairs easier.
Remote support is another useful feature where the signage system supports it.
Some faults can be diagnosed remotely, reducing the need for an immediate site visit.
How Long Does a Video Wall Installation in Melbourne Take?
There is no reliable single answer because most of the project time is influenced by size, equipment availability and site preparation.
A relatively straightforward indoor installation may require only one or two days of physical work once the site is ready.
A larger custom LED wall may involve several stages.
A typical sequence might look like this:
| Stage | Typical Requirement |
|---|---|
| Site survey | 1 site visit |
| Technical design | Several business days |
| Structural/electrical preparation | Depends on site |
| Equipment procurement | Depends on selected system |
| Frame installation | 1–3 days |
| Display installation | 1–3+ days |
| Commissioning | Several hours to 1–2 days |
| Training | Usually completed at handover |
These figures should be treated as a guide rather than a fixed commitment.
Outdoor displays, complex structures, unusual access conditions and major fit-out projects can require longer.
What Affects Video Wall Installation Cost?
The cost of a video wall installation in Melbourne is influenced by far more than the number of square metres of screen.
The display technology itself is one factor, but installation conditions can have a major effect on the project.
Important cost variables include:
- overall screen dimensions;
- pixel pitch;
- indoor or outdoor specification;
- brightness;
- LED cabinet type;
- mounting structure;
- wall reinforcement;
- electrical works;
- network infrastructure;
- video processing;
- CMS requirements;
- access equipment;
- after-hours installation;
- service access;
- and ongoing support.
A smaller fine-pitch LED wall may cost more than a much larger screen designed for long-distance viewing because the LED density is considerably higher.
Similarly, two screens of the same size can have very different installation costs if one is mounted to an existing suitable structure and the other requires custom steelwork.
This is why a site visit is usually more useful than trying to estimate a commercial project from dimensions alone.
Frequently Asked Questions
Does a video wall installation in Melbourne require a permit?
It depends on the type and location of the display.
Internal displays may have different requirements from external signs or large outdoor LED structures. Planning, building, structural and electrical requirements should be reviewed according to the specific site and proposed installation.
How long does a typical video wall take to install?
Once power, data and mounting infrastructure are ready, a straightforward indoor installation may take one to several days. Large or custom systems can require longer.
Does an LED wall need a dedicated electrical circuit?
Large LED displays may require dedicated electrical circuits or specific power distribution. The electrical load should be calculated during project planning rather than after the display arrives.
Can our store remain open during installation?
Often, yes.
Some installations can be completed after trading hours or divided into stages to reduce disruption. The answer depends on the size of the project, site access and the amount of structural or electrical work required.
What pixel pitch should I choose?
Pixel pitch should be selected according to viewing distance, required image detail, screen dimensions and budget.
A finer pitch is generally more appropriate when viewers will stand close to the display.
Can we control the screen remotely?
Yes.
A properly configured digital signage CMS can allow authorised users to upload, schedule and update content remotely.
Planning a Video Wall or Digital Signage Project in Melbourne?
The most important decisions in a video wall project are usually made before installation begins.
Choosing the correct screen matters, but so does understanding the site, viewing distance, lighting conditions, supporting structure, power, data infrastructure and future maintenance requirements.
A good installation should look as though the screen belongs in the space rather than being added to it afterwards.
For retail stores, offices, showrooms and other commercial environments across Melbourne, AXSS can assist with LED video walls, commercial digital signage, outdoor LED displays and other custom display solutions.
Starting with a site assessment makes it possible to identify technical requirements early and recommend a system that suits the actual environment rather than relying on assumptions.
Planning a new LED screen or digital signage installation in Melbourne? Contact AXSS to arrange a site consultation and discuss the most suitable solution for your location.